Today we are previewing the kitchen of my studio apartment. At first glance, it looked liked it had the same amount of space as my previous apartment (view that kitchen makeover
here)since the number of the cabinets was almost the same however once I got in the space, I learned that some of the cabinets weren't as deep as my prior apartment. Overall, of all the rooms, this one had the most space.

This is how the kitchen looked when I toured the apartment. This apartment was a model for the studio apartment, hence the red accessories. I don't think it was staged particularly well and I certainly don't care for white walls. But here is the before photo with their accessories.

When I moved in, the walls were white of course. White walls = renter, lol. Of course you know that I would not live with white walls for long. Give me 24 hours and a can of paint and they'll be gone. Dad took Dear Son at 7:30 on Saturday night so I got started painting my kitchen. It felt like an episode of Trading Spaces in terms of the time crunch since I only had 24 hours to move everything out, sand the walls, wash the walls, tape them and then paint. It's not a large space just lots of detail since there aren't any full walls. I simply used the same paint that I had in my former apartment. I had some left so it was easy. I did run out though and purchased two little testers to finish it off today.You know that I wouldn't live with walls that weren't totally painted, right?

I really like this color because it's fresh. When I paint a room, especially an apartment, it makes it seem more like a home. I really can't understand people who leave their walls white. Here's another picture of the kitchen as they staged it before I moved in.

And here it is after I painted it. Of course, I like mine better, lol. You know that when I move, I have to paint it white again but really, why live with white walls because of that.

Some people don't know how to pick a paint color so I'll share my secrets for picking a paint color.
1) Figure out a general color that you want. As a general rule, pick a color out of something you already have in the room. For example, if you want to paint the room blue and there is blue in the pillow, try to match that shade of blue, assuming you like it.
2) The absolute simplest way to pick a color is if you like a color that is already in the room, say in the pillow or a rug, take it with you to the store and have it color matched. If the color is not in the room, but say, you have a sweater that you love and you love the color, take that with and have the paint color matched. Home Depot can do this for you.
3) Suppose however that you are selecting a new color and don't have any items to work from meaning there aren't any items in the room in that color. This is easy. So let's say you want to paint your room blue, go to the paint store and pick up as many paint chips as you can in the shade of blue that you think you like. You are not selecting the paint yet, just picking up paint chips. You don't even have to worry about what brand of paint yet, just start by picking up a bunch of swatches. I might go home with some 20 different swatches of blue paint. This means 20 different pieces of paper, some of which will have 5 different shades of blue on them.
4) Now that you are home, you are going to hold these paint swatches up against the wall in the room you want to paint. You are going to do this in broad daylight with the daylight shining in on the wall. At this time, you'll hold them up to the wall. Within 5 minutes, you'll eliminate 90% of the swatches you just brought home. You'll know immediately what colors won't work in your room and you'll toss them.
5) Now then, you'll already have a few you like. Tape those to the wall leaving some space between them. For the next 24 hours, you are going to come and check out those swatches. When you see ones you know you don't like, get rid of it. By this time, you'll be down to 3 or 4 paint colors.
6) You'll want to look at these colors in all different lights. Your favorite color in the daytime, may wash out at night and at night you'll have a different favorite color. It will be interesting to see the color with your lamps on at night versus straight daylight. No worries. Continue the process for 24 hours and look at them and soon you'll pick the color that you liked best during all of the different times of day.
7) Within 24 or 48 hours, you'll have picked the paint color you like best. Now you will take the swatch to the paint store and select your brand of paint and the color. If you like the brand of paint that matches the swatch, fine, if not, purchase the brand of paint you like and have it color matched. Buy as much paint as you'll need up front. One tip is that when you buy the paint, they'll put the formula on the top of the paint can. Tape over the formula with clear tape when you get home and once you are done with the paint, you can keep the lid and you'll know exactly what the paint formula is in case you want more.
This is my own system and one I have used for some 15 years now. I've never regretted any paint color using my own method. If you are really unsure as to where to start with even selecting a general color, look at your wardrobe. What color is the article of clothing that you like to wear or what color is one you get the most compliments on? Another tip is selecting a color similar to a room you've seen in a magazine or online.
Here is a picture of the kitchen showing the flooring.

Probably my favorite part of the entire apartment is the view from the kitchen. I love to cook and look out at the trees. We get a lot of daylight in the apartment which is nice. I also have a nice prep area for cooking.

Here is another view. I used the same chandelier from my former kitchen. Not only is the chandelier pretty but more importantly is the task lighting. I really need task lighting, especially at night for washing dishes or in the winter. Apartments don't come with task lighting which is a shame. If I owned the place, I would have an electrical box (not sure what it's called) installed in the ceiling so I could have overhead lighting without any cords. When I had our home built, I made sure all of the bedrooms had overhead lighting installed. On the down side, I only have a one bowl sink. I think it should be mandatory to have two bowls. I mean really.

My pretty soap container.

Another before picture of the apartment before I moved in.

In this section, I added a shelf so I could store more things. I added these baskets. One stores Dear Son's formula and the other one stores his medications and syringes. It was difficult because we had to install the shelf above the phone jack. If I owned the place, I could remove it. Dad installed all of the shelving for me throughout the apartment. In this case, I just took the shelf I had installed in my previous apartment. Luckily the dimensions were identical even though the kitchens were totally different. Here you can see the shelf. I think it makes it look a lot more modern. I also changed all of the hardware and put on glass knobs. I saved the apartment hardware so I can swap it back when I move.

Since I didn't have a kitchen pantry, I needed to make one. Here is a picture of the other side of the kitchen before I moved in. The door you see is the laundry room but if you look to the side, you'll see the front door and next to that is the foyer closet. One other thing regarding the kitchen was that there wasn't any space for my pretty chalkboard. The light switch and the security system made it impossible to use that wall so I ended up using a large clock that I had instead.

In this photo you can see the foyer closet. Since it's a tiny studio apartment, at only 650 square feet, I needed to utilize every square inch of space efficiently. I couldn't afford the luxury of letting the foyer closet go to waste. I decided to make that into a kitchen pantry instead of using it as a foyer closet.

Here is a picture of the closet before I moved in. It had two shelves plus an electrical box for the security system.

Since I have to return everything to it's original condition when I move out, I decided to leave the two existing shelves and to add adjustable shelving to the remainder of the closet. I used Rubbermaid shelving from Menards and used this shelving system that attaches to the wall. It's quite simple actually. You attach the two rear vertical posts to a horizontal piece and screw all of them into the walls. Once that is done, you simply place the braces on the vertical posts and the shelves where you need them. Of course, I always sketch out a plan on where I'll put things before I ever go to the store. I think this closet cost around $100 to do; I don't remember exactly. The beauty of this system is that when I move, I can remove the posts and take everything with. I installed this system when I did a little girl's playroom a few years ago. Here is a look at the entire closet.

A view of the top shelves. I labeled them so you could see how I used them. Remember, the first two shelves are the existing shelves that were already in the foyer closet.

The lower half of the pantry looks like this. Sorry about the blender but the glass part was in the dishwasher when I took this photo.

So far, the kitchen pantry works really well. Now normally, I wouldn't recommend taking your foyer closet and making it into a pantry however this is a very small space. Also, I had thought out about where I would put our winter coats now that we didn't have a closet. I have a mirror/coat rack that hangs on the wall so we'll use that.
From here on out, there are only minor projects left in the kitchen. I still need to get some paper to line the drawers and a few more accessories but other than that, I am fine with how it looks and functions.
I hope you liked the sneak peek of my studio apartment kitchen.
 Now that I have been moved in for a little over two months, I decided to start tackling these painting projects. Once the kitchen was completed, I knew I wanted to start painting the furniture. I must admit, I was a little nervous to paint this chest of drawers since I really liked the hand painting on them but it was also driving me crazy that it didn't match Dear Son's bed. Here is a picture of his room before I painted the chest of drawers.
 And here is the after. I am so pleased with the way it turned out.
 I actually had two of these dressers in my former apartment. I had one on each side of my king size bed. Here is picture of my master bedroom in my former apartment.
  I loved the curve on these chest of drawers as well as the hand painting on them. I thought they were very romantic. When I moved to my new apartment however, I didn't have room for both of them in my bedroom so instead of getting rid of one of them, I decided to use one in my master bedroom and one in Dear Son's room. Here is a close up of the painting on the drawers. I removed the drawers and hardware and decided to take a close up of the drawers.
 I was very nervous about painting them because I liked them so much. I decided to follow the Just a Girl Blog Furniture Painting instructions. Her furniture always looks amazing. Of course, after reading through the instructions, I changed a few things. First, I cleaned all of my furniture with cleaning products I had on hand. I prefer natural cleaners so that is what I did. Next, I decided to forgo priming the dressers since the color was already dark and I knew I would be painting them black. I went to Home Depot and asked for furniture paint and decided to try Rustoleum's furniture paint which is a low luster formula. If would have helped if I would have taken a picture of the can before I started painting.
  I painted both dressers black even though I am only posting pictures of the one I used in Dear Son's room. Basically, I forgot to take an after picture showing my whole bed along with the dresser, lol. Here is a picture of the dresser after two coats. I think it turned out great. I should also mention that these dressers were distressed when I purchased them so I didn't attempt to patch anything but instead left them distressed.
 Chris's painting instructions were excellent. She used a foam roller and foam brushes which is how I typically paint furniture. The only catch was that these dressers were full of curves making it nearly impossible! No only were the sides of the dressers curved but each drawer was curved as well. Some of the drawers were concave and some were convex! Talk about a nightmare! I had more trouble on the concave drawers but it still turned out nicely.
 What made it more challenging was that I had to do all of this very quickly. Dad takes Dear Son on Saturday night so I had to get both of these dressers painted in a little over a day. Since I live in a studio apartment, I had to paint them right in the room. I covered the carpet well and didn't spill any paint.
 Because the light (daylight) is behind the dresser, it made it difficult to see the paint job.
 I ended up using some silk flowers on his dresser because it was more budget friendly. I still prefer to use a dresser scarf. I always love the crisp, ironed cotton in contrast to the black dresser. I closed the blinds and took some pictures at night to give you a better view of the dresser.
 Here is another daytime photo. I love this picture because the flowers are reflected in the mirror.
 Another photo.

 I was really glad I painted his dresser. The black seems really fresh and makes the whole place feel new.

 Here is a photo of Dear Son's bedroom in our old apartment.
  You may recall, Dear Son's bed is a hospital bed and the headboard and footboard slip over the hospital bed. These are Tendercare Hospital Beds. Click here to view the You Tube Video for Tendercare Beds. Hard to believe his bed is a hospital bed! You can click here to see what Dear Son's hospital bed looked like before we got the Tendercare Beds. I love this bed! You have to admit, if I didn't tell you this was a hospital bed, you probably wouldn't have known it.


 The bedding is from Pottery Barn. I chose yellow for Dear Son's bedding for two reasons. First, yellow, white and black is a classic color combination and I thought that looked nice. Second, Dear Son is such a happy young man and was always a happy kid. I think if Dear Son were a color, he would be yellow like the sun because he is always so happy:) I think every kid is a color; you can tell by their personalities. Some kids are orange, some kids are red, etc. Dear Son, he's a yellow for sure.
 The mirror is from Pottery Barn as well. The photo over Dear Son's bed is of the Arboretum near our home. I took the picture in the fall when the leaves were changing. Dear Son and I used to go to the Arboretum a lot when he was younger.
 One last look. I hope you enjoyed his newly painted dresser! Linking to Just A Girl Show and Share Day.


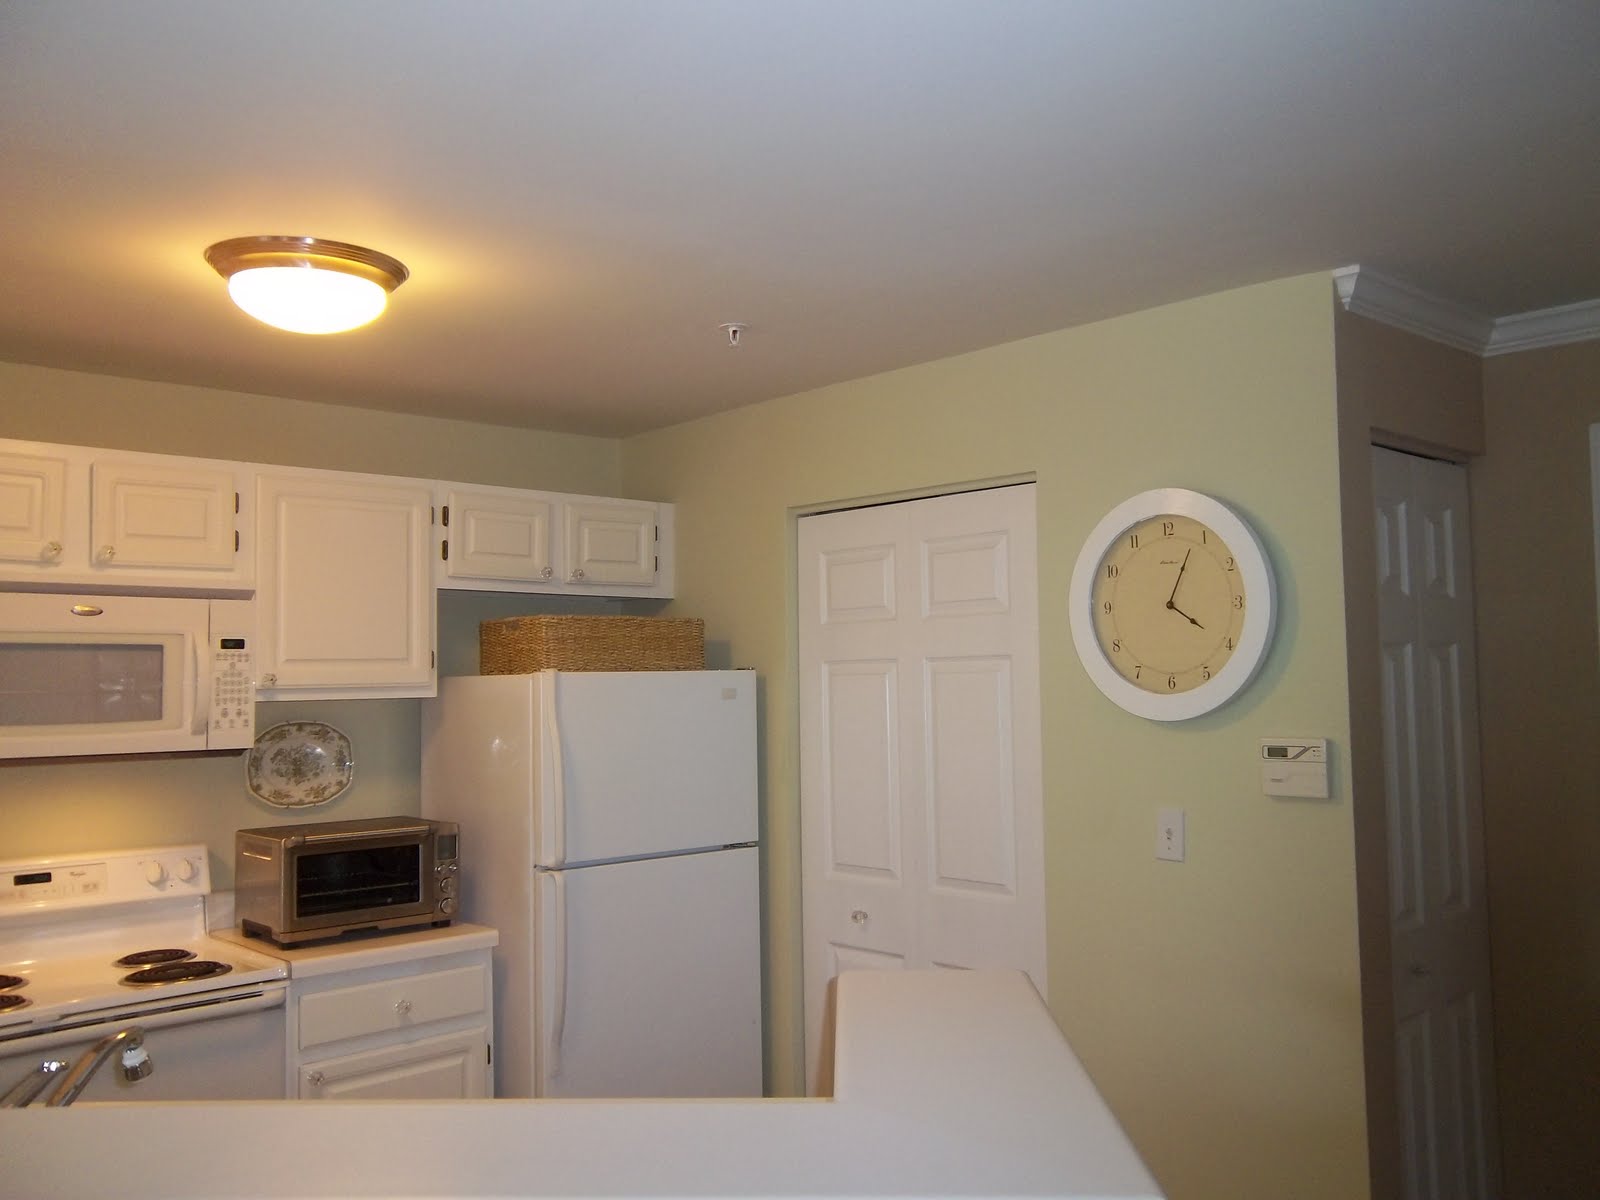


 Here is a photo of the room before I moved in. Not particularly charming. Since the entire apartment was already painted this taupe color, I decided to keep it. That would save me some time in not having to paint the walls and then re-paint them back. Since I just moved in a month or so ago, I wasn't too excited about re-painting since I had to do that in my former apartment. This color was different for me. It's bolder than what I prefer. I love soft, muted colors and this color is a bit deeper and more modern in my opinion. My design preferences lean toward classic and traditional design.
 Every room has challenges. Most of the time, they aren't a big deal; you just figure out what they are and work around them. It's kind of like selecting clothes. Each person knows their assets and liabilities and dresses accordingly (hopefully). Rooms are no different. In this room, we have a few challenges. In a small space, some of them become more important than if you had a home because there just aren't any other options for furniture placement. This room is pretty good except for the return air vent located near the floor. That means that you can't place furniture in front of it or it will block the vent. Had they placed this near the ceiling, furniture placement would be better, although it may not look as pretty. In this space, ceiling placement would have been helpful. The room, at only 11 feet wide, meant that I could only use one of my three drawer matching chest of drawers. Since I didn't want to break up a set, I used the other one in Dear Son's room. I ended up having to purchase a piece of furniture for the other side of the bed, but I'll get to that later. The other issue is that of the smoke detector. Does it really need to be right over the bed? I think not.
 I would have preferred to have this chandelier over my bed.
 So now that you've seen the before, let's get to the "after".
 I kept my crystal scones, that were previously paired with my mirror in the dining room of my former apartment, and placed them on either side of the print. The print is a favorite of mine. I purchased it at Bombay Company many years ago. The print is by Jack Vittriano and is called, "Dance Me to the End of Love". I used the sheets that I already had as well.

 Even my cat looks great on this bedding. The gold bedding matches his eyes. Of course, he didn't want to open them for the photo, lol.
 Let's talk about the bedding a bit. Once I decided to keep the paint color, I wasn't sure what type of bedding that I wanted. What I wanted and what I could afford were two different things. I like Horchow's bedding but most of that was above what I could afford. So, I went with Plan B, and purchased a bed in a bag. I looked online and found some Donna Karan bedding in gold and Barbara Barry bedding in a pastel blue that I really liked, but I fell in love with this gold bedding. I should also mention that when you select colors for your home, you should always select colors that look good on you, for your room. That way, you'll always look good in your home. You'd never buy an outfit in a color that wouldn't look good on you, so why would you put a color that clashes with your skin tone in your home?